|
A. -Background
1. What is a lead magnet?
A lead magnet is an irresistible offer of value to prospects in exchange for their contact information. It is an incentive offered to prospects and it is sometimes referred to as a legal bribe. The purpose of a lead magnet is to lever the subscription of targeted leads to an offer, opposed to cold leads which are normally drawn to generic sales offers. A secondary objective of a lead magnet can be to convert targeted leads into warm prospects.
2. Examples of lead magnets:
Lead magnets may vary from free samples, free gifts of physical products, free service coupons and various other. In the online marketing sector, electronic format lead magnets are the most popular. A few examples thereof are: - A guide on how to... (Write a blog / Create a Facebook campaign / Embed a video on a web page) - Free plans to build ... (Chicken coup / Tiny house / Campervan / Kitchen Cabinets) - Cheat sheets on how to .... (Lose 10 pounds in 30 days / Send 1000 emails in one go) - A Checklist for ... (SEO of your blog post / Time management & productivity / Writing your CV) - A Template... - Recipes...
3. Characteristics of lead magnets:
It must be: - Easily accessible. - Concise: -Brief, but comprehensive. - Actionable: - Having practical value which can be acted upon. - Specific: - Focussed as a specific solution - Easy to follow and written in layman’s terms. The lead magnet examples that I like most are to either write special reports, which consists of 3 – 5 page information sheets, or my best favourite is to write e-books of between 10 to 15 pages.
The focus of the rest of the discussion will be on creating a 10 – 15 page e-book as a lead magnet.
B. -Works
1. Research:
It is important to have a size-able audience. You therefore have to do some research about what people are searching for on the internet. Information on Market Size and Research can be found in paragraph 3 of an article in this link. ---Tip: Don’t get so involved in research that it completely paralyses your progress. There is no such thing as the perfect topic. Do not choose a small niche, but on the other hand, choose a niche which you can relate to. When you relate to your niche, you will be able to relate to your audience during your writing.
2. Writing And Other Tools:
You don’t need any specialized writing tools. All that you will need is a word processor application. I’m using Microsoft Word, and eventually convert from Word to PDF format. Microsoft Word has some very useful editing tools, of which most are not commonly used. Scout around in the tabs and test the different features. It is actually a very powerful program. Microsoft Publisher or even PowerPoint may also work well. It’s all a matter of preference. The end product will have to be saved as PDF or exported via a PDF printer though. Be careful not to use pictures straight from Google Images. Many of those belongs to website owners and are copyrighted. Sources of free images which has open user rights are: https://pixabay.com/ https://unsplash.com/ http://www.freeimages.com/ Check the user rights of images before you download it for use in your document. I’m using an old and outdated version of Corel Draw to create graphics and images for my blog posts and articles. Free software that are available is: Inkscape, GetPaint.net and Gimp Inkscape is fairly similar to Corel Draw and it is my preferred free and open source graphics editor. GetPaint .net may be easier to master, but it is not as powerful as Gimp. Gimp can however be a bit challenging to use at first. When you’re promoting your e-book, it will be best if you give it the look of a real printed book by creating a mock book cover. My favourite platform for creating free covers are: Adazing.com and MyeCovermaker.com. I’m simply using the free options without purchasing the 110 different options which they usually offer when you download your book cover. You may also look at Canva.com as another option. ---Tip: As with research, don’t get so involved in graphics that you lose speed. If you’re not familiar with creating and editing graphics, rather use stock pictures and Text Art to spice up your first e-book. It doesn’t need to be perfect. There is no such thing as a perfect e-book. Your best is good enough. Your skills will improve with experience. Optionally, you may also consider to make use of the services offered on Fiverr.com and get someone to assist you with the “packaging” and graphics of your e-book
3. E-Book Layout
Next, add a picture of yourself and introduce you as the author of the e-book. This is rather important as one of the purposes of the e-book is to build relations with your readers. You may also choose to add a short bio about yourself, positioning you as an expert on the topic that you write about. I prefer to only share my picture and my name and just one line about myself.
Following the introduction of the author, share a short extract from the content of the e-book. This is something similar to what you will read on the back cover of a printed book.
Body of the e-book
After the front page, the content is added. I find it useful to do it in 3 chapters. The first two chapters will form the body of the e-book. Between chapter 2 and 3, I choose to insert another opt-in gateway, but this is optional and my personal preference. The reason for this will be explained later. It is best to write on 3 to 7 specific points. Presenting your e-book as “3 Reasons why you struggle to lose weight”, or “The five most effective ways to reach your target market”, will immediately draw the attention of the right audience.
Chapter 1
The first chapter will start off by creating the understanding by the reader that the issue which he/she is struggling with can be resolved. Be specific on what the issue is and on how to resolve it. This chapter needs to create a path which will touch on the following way points: - Identify with the readers issue. - Be specific on what the solutions are. - Explain some detail on the different steps necessary to get the desired results. - Summarize the chapter in the end. - Be constantly enticing and prepare the reader for the contents of chapter 2.
Chapter 2
The second chapter will touch on your quality offer. You will be sharing detailed information explaining what is needed to get results from the product or business. If you for example you want to promote weight loss products, you will explain the benefits of losing weight, the way your product is working and all the details that will entice the reader to actually obtain the product. …BUT: Focus on sharing valuable information and do not try and sell. You want to warm up your prospect, you want to create the desire by your prospect to learn more and you don’t want to cool the prospect off by putting the product in front of him/her at this stage. This chapter will: -Share details of the solution and start pointing it towards your product. - Warm your prospect up by taking him/her from being a targeted lead to a warm prospect. - End off with the promise of revealing your success product in chapter 3. Up until now, no links has been shared in the e-book for the following reasons: - You don’t want to create “leaks” in your content that may take the attention of the reader somewhere else. - You have to offer enough content of value to keep the attention of the reader captured, making it unnecessary to add in supportive links. - The purpose of the e-book is primarily to offer a solution to the reader and not to be a sales page.
Chapter 3
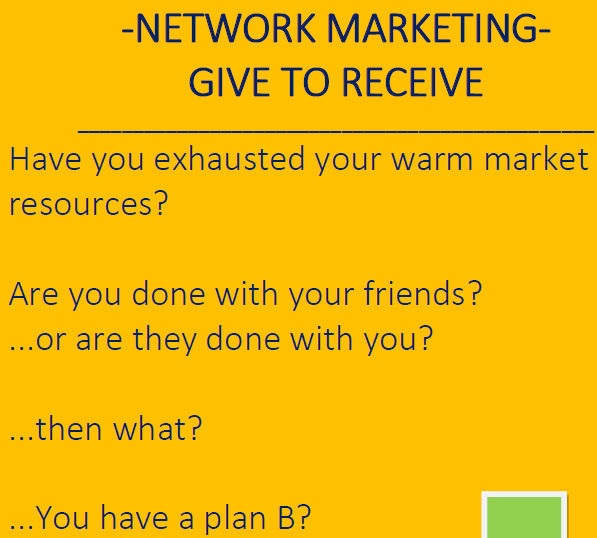
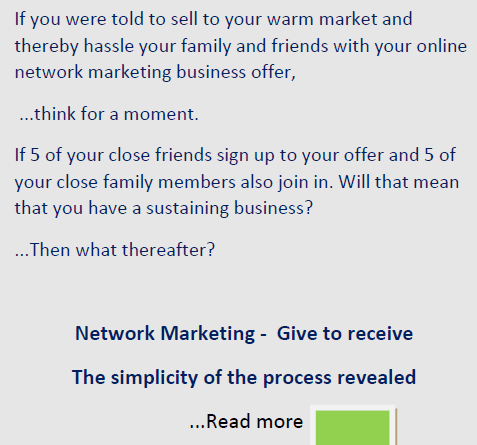
This chapter will lead the prospect to the actual sales offer, but again through a detour. At first the e-book was presented to a targeted audience. Readers of it will therefore have a “want” for the information shared. They will be warmed up as they are gradually working through the content of the e-book. The “want” will be starting to turn into a “need”. The purpose of chapter 3 is to turn the prospect’s “need” over to action. The different steps of the sales offer will be presented as “how to” solutions to the prospect. All that is actually shared in the e-book about chapter 3, is an index page telling the prospect what the contents is that will follow in the next chapter. I prefer to share the content of chapter 3 in a series of five to ten blog posts. Most important however is that the reader only gets access to the information by opting in again through a subscriber form. Once they subscribe to access the content of chapter 3, the autoresponder will unsubscribe them form the previous list, moving the prospect from the warming up email follow up series, to the warm prospect email series. The reader is prompted to make a decision to receive more information and by opting in he/she is actually taking the first step over the line from being a prospect to becoming a customer. This explains how the e-book is applied as a tool to firstly capture targeted leads and secondly to turn those leads into warm market prospects that eventually become customers.
Closing off:
The e-book is closed off by an invitation to the reader to subscribe to the information shared in chapter 3. It is clearly stated to the reader in which format chapter 3 will be shared. It can either be in the form of another PDF document, a video series or a blog post series. Finally, a disclaimer is added to the e-book, stating the following: There is no guarantee that you will earn any money using the training, techniques or ideas presented in this document. Examples in the training materials are not to be interpreted as a promise or guarantee of earnings. Earnings will vary and factors that will influence earnings and potential earnings may amongst others include knowledge, skills, marketing, start-up expenditure and product application. Errors and omissions excepted (E&OE)
4.What to do:
Best is to immediately take action. Building your own lead magnet is the first step in creating your own automated selling machine. At first it is going to take a lot of time and work, but once completed, you will have a proper working system that will only needs fine tuning as time goes on. You now have a proper guide on how to go about to create an e-book type of lead magnet. Be creative and start off immediately by creating in your own style. Results will only come from action. In a final step of your e-book, you will need a link to a subscriber signup form in your auto responder. In a future blog post, I will explain step by step how to register and set up your auto responder and how to create your first signup form.
I trust that this tutorial will assist you in creating your own e-book which will effectively expand your subscriber base.
Was this post helpful?
…If you found value in it, please comment below. Tell me your story. Ask the questions you may have on the subject. Copyright: CobusvdM https://www.mybusinesswhy.com/
0 Comments
Your comment will be posted after it is approved.
Leave a Reply. |
AuthorCobus van der Merwe Archives
November 2023
Categories
All
|


